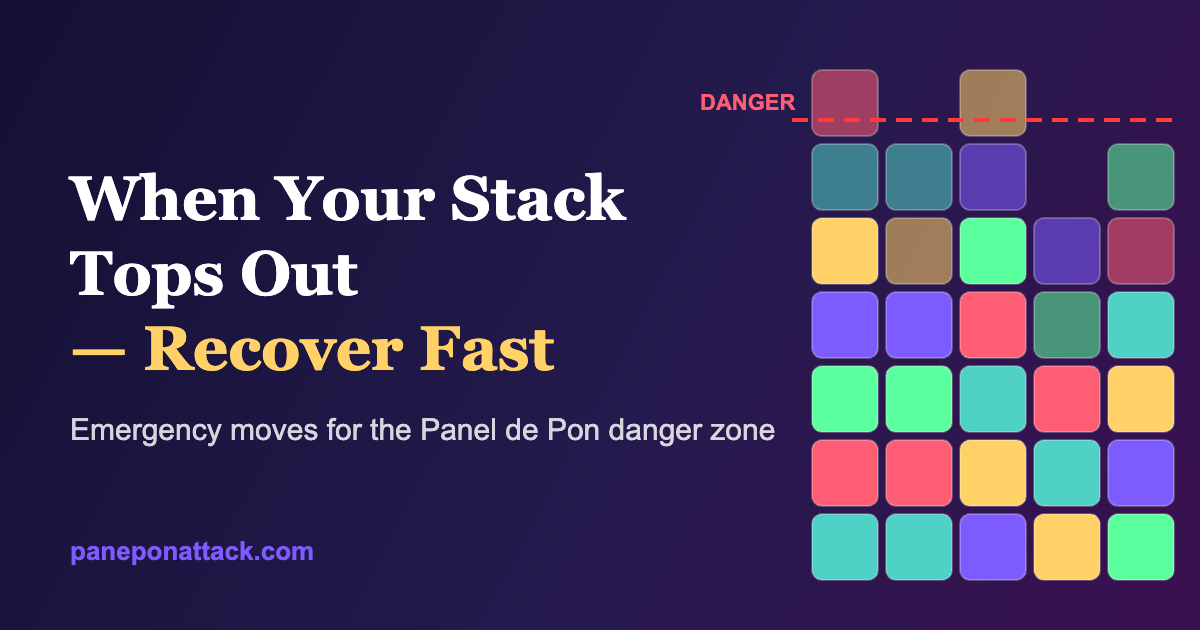
Every guide about topping out tells you the same thing: keep your stack low. That’s correct, and if you’re brand new you should learn to manage your stack before anything else. But there’s a moment those guides skip: the one where you already are in the danger zone, panels flashing, buzzer screaming, half a second from a game over. This post is for that moment. It’s triage, not prevention — a set of emergency moves for intermediate players who keep dying at the top of the screen instead of clawing their way back down.
What “topping out” actually means
In Panel de Pon (and its ports — Tetris Attack, Pokémon Puzzle League, Planet Puzzle League) the board loses when a panel is pushed past the top row and has nowhere to go. Before that happens the game gives you a warning: the panels in the highest occupied columns start flashing, the music speeds up, and the cursor still moves but the rising stack is now very close to the ceiling.
The flashing is not a decoration. It’s a timer. On most versions, once panels flash you have a short grace period during which the stack keeps rising — and if you clear enough panels to drop the tallest column below the flash line, the warning clears and you keep playing. So the danger zone is survivable. The problem is that most players do exactly the wrong thing when they hit it.
The wrong instinct
Under pressure, people try to finish the big chain they were setting up. They keep reaching for that one vertical match that completes a 4-chain. But a chain takes time to resolve, the stack keeps climbing while you set it up, and if it fails you top out mid-attempt. In the danger zone, the chain is a liability, not an asset.
The mindset shift: stop attacking, start surviving
The single most useful thing you can do at a high stack is change your goal. Outside the danger zone your goal is to build damage — chains, combos, garbage for your opponent. Inside it, your only goal is to remove height, fast, anywhere. A clumsy horizontal clear that lowers your tallest column beats an elegant chain that takes two seconds to land. Survival first, style later.
Five emergency moves to buy time
1. Clear horizontally, not vertically
Three-in-a-row across the top is almost always faster to assemble than a vertical match, because you’re sliding panels sideways into a line instead of stacking them. Scan the top two flashing rows for two same-colored panels with a gap, and shuttle a third across to close it. Horizontal clears also flatten the surface, which is exactly what you want when you’re trying to drop below the flash line.
2. Spend your stop time on purpose
Clearing panels grants a brief pause in the stack’s rise — stop time. Most players waste it by not clearing again before it runs out. When you land your first emergency clear, immediately look for the next one so the stop-time windows overlap and the stack effectively freezes while you dig. Understanding exactly how this works is worth its own read: see how rising speed and stop time work.
3. Attack the tallest column first
You lose from the highest point, not the average height. It doesn’t matter that four of your columns are comfortable if the fifth is about to punch through the ceiling. Identify the tallest flashing column and make your next clear include a panel from it. Lowering the peak buys more survival time than clearing three panels somewhere safe.
4. Abandon the chain
If you were mid-setup for a big chain when the flashing started, let it go. Break the setup apart for parts — the panels you were saving are now just material for fast horizontal clears. Emotionally this is the hardest move, because you can see the chain you almost had. Do it anyway. A dropped 5-chain you survive to rebuild is infinitely better than a completed one you never get to use.
5. Use slides to create instant matches
The cursor swaps two adjacent panels instantly, and a swap can complete a match on the spot with no falling required. In a pinch, look for a panel that’s one swap away from finishing a line and take it, even out of your normal reading order. Instant matches don’t wait on gravity, so they’re the quickest possible height reduction.
Which panic move for which situation
Not every emergency is the same. Here’s a quick reference for choosing your move based on what the board is doing:
| Situation | Best emergency move | Main risk |
|---|---|---|
| One column spiking, rest are fine | Attack the tallest column first | Tunnel vision — don’t ignore a second column that’s also rising |
| Whole board is high and flat | Horizontal clears across the top | Slow if colors are scattered; keep swapping |
| You were mid-chain when it started | Abandon the chain, use the parts | Hesitation costs you the grace period |
| Stack rising fast, high speed level | Overlap stop-time windows | Missing the next clear lets rise resume |
| One swap from a match | Instant slide match | Only helps once; find the next move immediately |
Recovering while you’re buried in garbage
High-stack panic gets worse in versus and hard endless modes, where an opponent (or the AI) drops garbage blocks that add height you didn’t create. Recovery then has two layers: clear the garbage’s bottom row to convert it into normal panels, and simultaneously fight your own rising stack. The priority order flips depending on how close to the ceiling the garbage sits — if the garbage is what’s about to top you out, clear beneath it first. This is a skill of its own; the full breakdown is in how to defend against garbage blocks.
How to train recovery so it’s automatic
You can’t practice panic in the moment — you have to build it beforehand. Set an endless run to a speed slightly above your comfort level and deliberately let your stack climb into the flashing zone, then practice clawing back down instead of resetting. Do this for a few minutes each session and the emergency moves stop being decisions and become reflexes. Pair it with the fundamentals: solid chain-building gives you the panel-reading speed that recovery depends on, and good stack management means you hit the danger zone far less often in the first place.
Who this won’t help: if you’re topping out every 30 seconds, the fix isn’t better panic moves — it’s slowing your rising speed and learning to keep the stack flat. Recovery technique is for players who occasionally spike into danger, not for players who live there.
Frequently asked questions
Can you always recover once panels start flashing?
Not always — at very high speed levels the grace period is short and a badly buried board can be unrecoverable. But far more often than players assume, the danger zone is survivable if you clear the tallest column instead of chasing a chain.
Should I ever keep building a chain in the danger zone?
Only if the chain completes in a single swap right now. Any chain that needs setup time should be abandoned; the stack rises while you build it.
Does clearing panels stop the stack from rising?
It pauses it briefly (stop time). It doesn’t stop it permanently, which is why overlapping clears matters — each clear buys another short window.
Is horizontal clearing really faster than vertical?
Usually, yes, because sliding a panel sideways into a line is quicker than stacking one to complete a vertical match. In the danger zone, speed beats elegance.
Leave a Reply